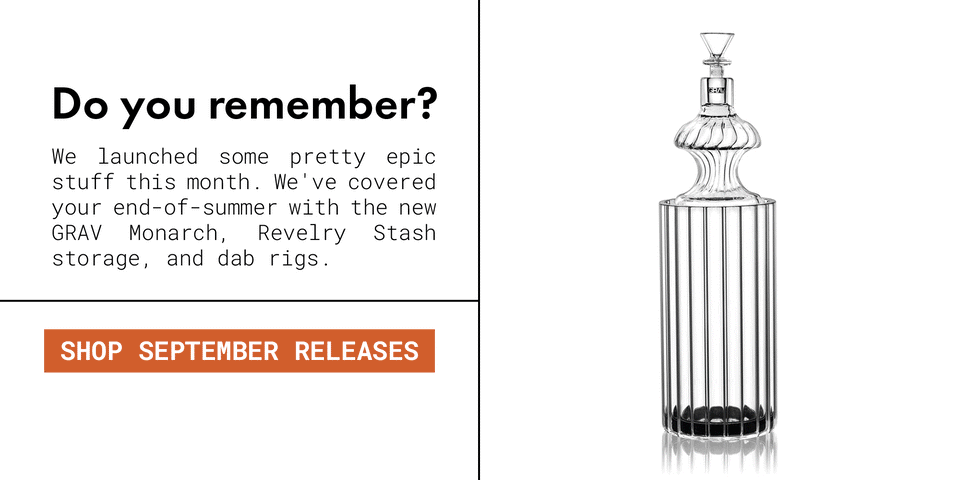
Enhance Your Weed IG Game In 3 Steps
No fancy camera. No expensive lights. Our photographer has put together a quick tutorial with a few tips for taking your Weedstagram photos from Mids to Top Shelf with just your cell phone.
–––
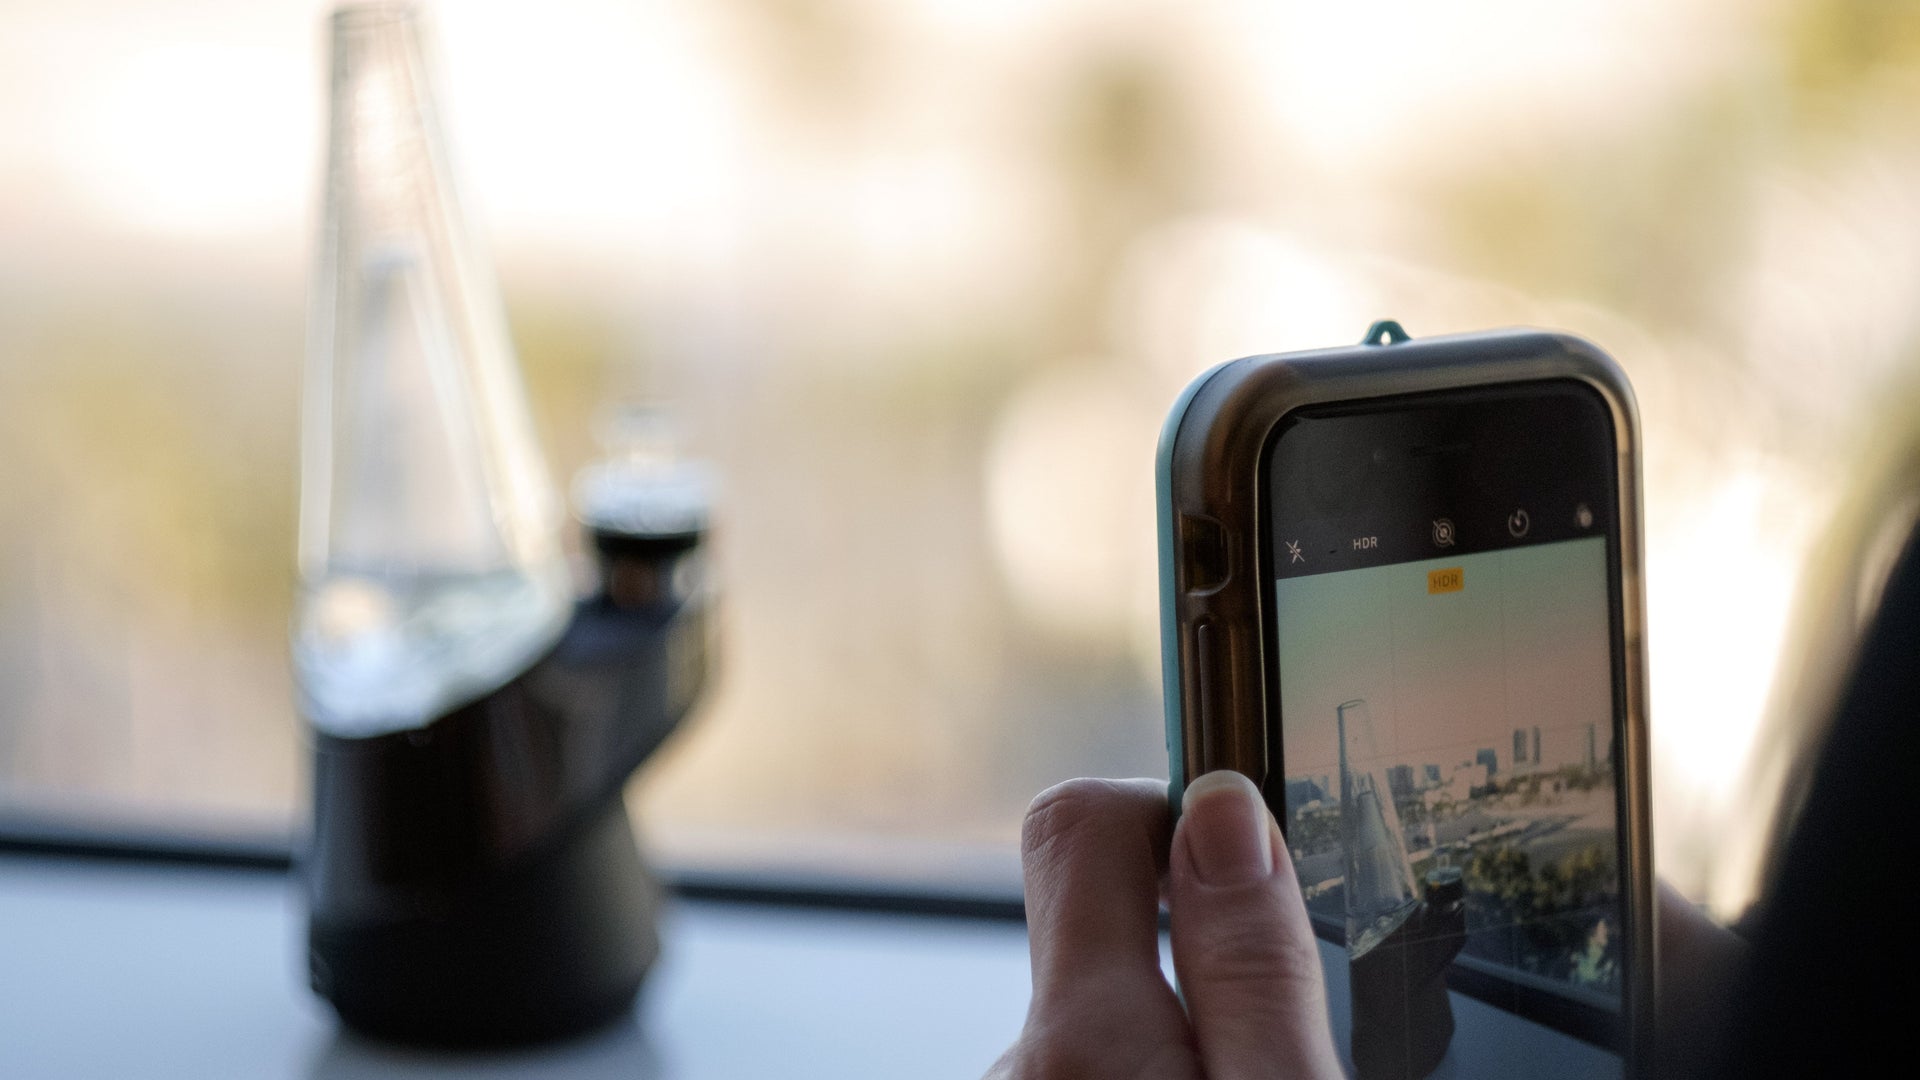
1. Look At The Entire ImageToo often do we see pictures of gorgeous glass setups or sticky nugs where immediately the eye is dragged away to the corner of the room where the pile of laundry or dishes sit menacing and distracting. First step: look at the screen before and after you take the image. Before snapping that shot, think about what you see beyond the subject. Does the background provide any context to you or your life? Is the space visually appealing, or if it isn't, is it at least clean?
Once you've picked up the scene a bit (no, seriously, clean your room), the next question to ask is "how is the light?" We can't all have studios with lighting setups, but we all have access to the light. Think about where the light falls best in the shot. The sun can be quite useful. Set up next to a window. Take photos at Golden Hour. If it's evening, turn the lamp on and adjust it to where you like how the light falls on the subject matter. Then get started on arranging the image: wipe old crumbs and ash off of the rolling tray. Enough money was invested in that ROOR bong; clean it! Maybe add a prop or two from around the house. Add intention and context to the setting. Next, ask how the angles are. We make sure our look is complete before stepping out into the world or adjust before taking a selfie, why should bong content be any different? Simple adjustments can significantly improve the overall composition of an image.
Pro Tip: Ditch the flash. No camera flash is flattering, especially on glass or nugs.

In every cell phone camera's settings, there are hidden tools to help improve your IG game. The grid is one of the most underutilized features that can help you stand out from the boring. Utilize the Rule of Thirds photography practice, and shift your subject to the side, or to the bottom. Experiment with where you want your subject to be. When it comes to posting your photograph, Instagram doesn't always have to be square, but will crop images that aren't 4x5 tall or 16x9 wide. Be sure the subject fits in the frame. Be mindful not to crop someone's feet off or lose the mouthpiece; perhaps take a step back. A photo can always be cropped down. There are apps for those instances where we're not willing to crop, but that's for another discussion.
Pro Tip: Tap for focus. Every phone will focus and adjust the exposure on a subject when you tap your screen where you'd like the most attention.

2. Create A Pre-Posting Process
Every great photographer edits their images – yes, Ansel Adams even noodled around in the darkroom to get the right look. When it comes to getting the "mood" or "aesthetic" that you'd like to achieve, perhaps download an editing app. Camera+ and VSCOcam are two excellent photo editing applications that don't cost a penny and will significantly improve the overall look of the image. There are in-app purchases if you're looking for more, but anyone who downloads the basic can put the tools to use.
Pro Tip: Experiment! It's okay to spend some time messing with sliders to change exposure or color.
Pro Tip 2: DO NOT use Instagram's filters. The results you can achieve with the Edit tool in a phone's Photo settings are far superior, so avoid the Inkwell and Ludwig and create a unique look! (Huji can go, too, but we know SilencedHippie will beg to differ.)

3. What Makes This Good Content?
A photo without intention goes nowhere. Our photographer has a sticky note quote on his computer that reads "Find a way to tell a story that means something to you." What are you trying to say? Who is the audience? Are you just happy with the re-up from the dispensary? Maybe you got a Welcome to Weed Bundle from 420 Science, and it's time for an unboxing post! No matter the content, make sure it's genuine to you, as the followers you're seeking to attract is much more interested and willing to engage when it comes from the heart. Next, think about the caption. Make sure what you write adds to the post and doesn't distract, especially if it's a quote from a famous person you admire. Pro Tip: check grammar and spelling. Don't kill a gorgeous photo with a poorly written caption.
Once you have a fundamental tone and direction for the work, do some research on the appropriate hashtags to utilize; they're the keywords people will search to find your images! Don't over-hashtag the post; top keywords will be the most effective for exposure. There are lots of moving parts to create great Instagram media, and not every image will be a winner, but as long as you're posting authentic content, the engagement will begin to rise.
Best Advice: have fun! The more fun you have to create content, the better it will be.