 Awesome! Your Earned Free Shipping!

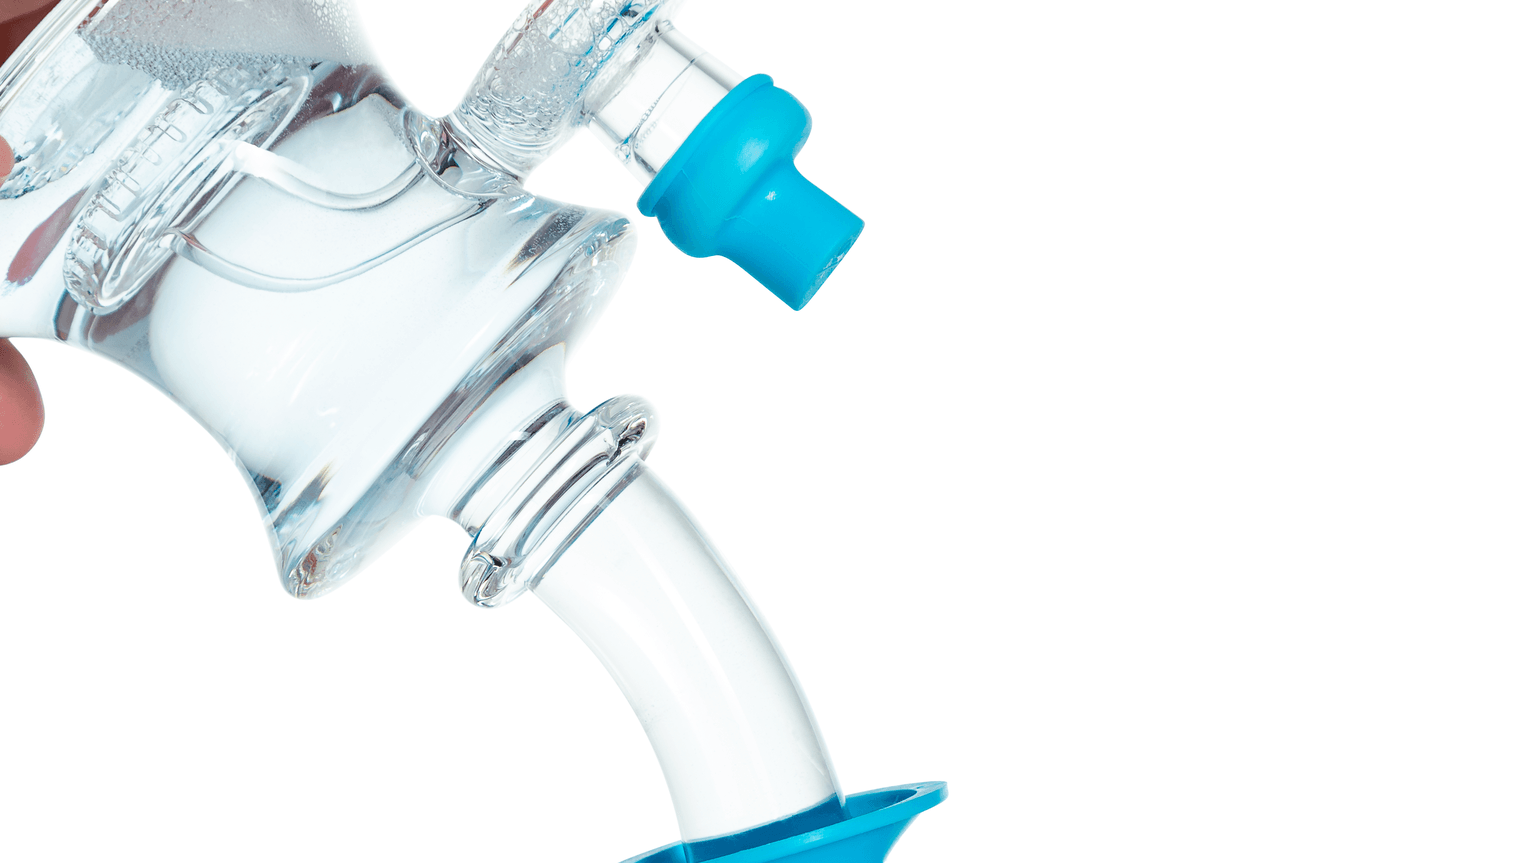
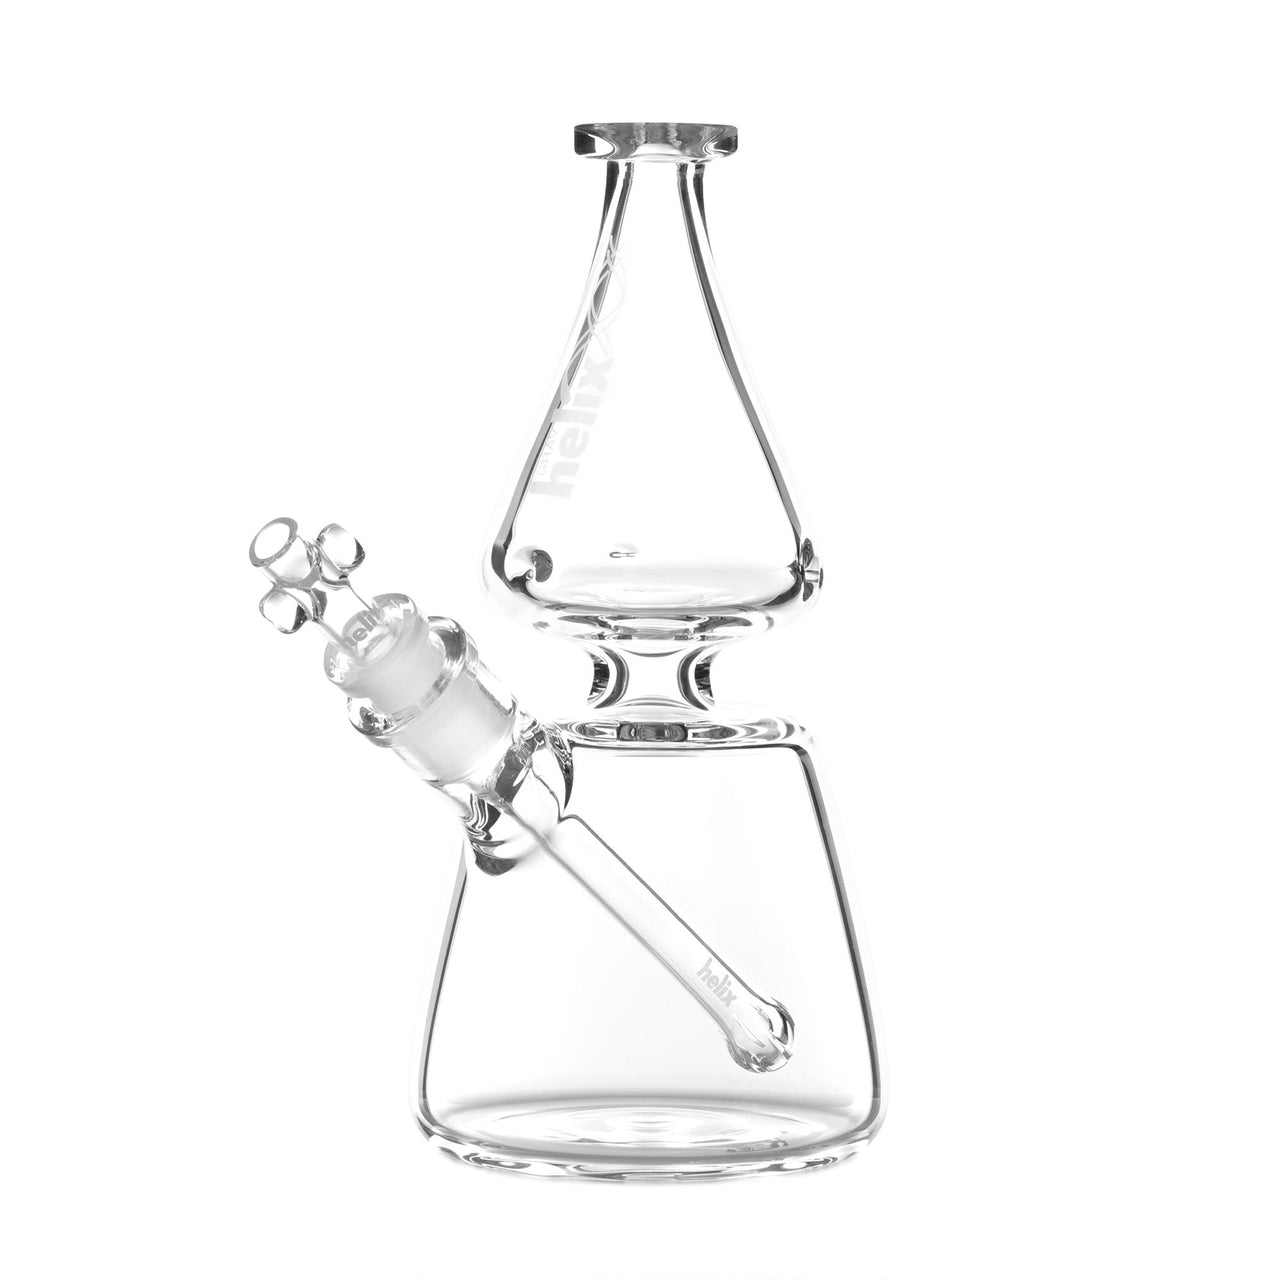
How to Clean a Dab Rig in 9 Steps
If you dab all the time then you know how quickly resin can build up in your rig and cause all kinds of problems. Resin build-up restricts air pathways and reduces the size and potency of the hit you are taking. In short, having a dirty rigs means you are wasting dabs. Keep your rig clean and you will have better and more enjoyable sessions, here's how.
Cleaning your dab rig as often as possible can help you keep it in pristine condition and make it last longer. Plus, a clean dabbing rig can enhance your smoking experience. If yours is full of goopy resin, it's time for deep clean. Read on to find out how.
That sticky, dark and gooey substance collecting inside your rig when you smoke is resin. The resin that builds up in the rig is stickier and can be more challenging to clean than in bongs. A lot of these methods can be made to work easier by running warm or hot water through your rig a few times to loosen the resins. With the right tools and approach you can clean it with ease.
What you need to clean a dab rig
For a more successful deep clean, here are the supplies you will need;
- Container
- Gloves
- Funnel
- Pipe cleaners
- Isopropyl Alcohol (at least 91 percent concentration)
- 420 wipes
- Cleaning Caps
- Cleaning brushes
- Cleaning swabs
- Cleaning plugs (if you don't have cleaning caps)
- Grunge off soaker
- Randy's black label industrial strength
Now that you have your supplies ready let's get down to cleaning.
How to deep clean the dab rig
Here is a step-to-step guide to deep cleaning your dap rig. Follow each step for the best results.
Step 1: Dump out the dirty water
The first thing you should do once you put on the gloves is getting rid of the dirty water in your oil rig. You can then warm some clean water and use the funnel to pour it into the rig. Afterward, use the cleaning caps to close the mouthpiece and all other openings. Or use cleaning plugs if you don't have any caps. You can then swish the water around for at least a minute or two and pour it out.
Pro-tip: Do not use boiling water in your rig. Glass can break easily if the water is hot. Instead, you should ensure that the water is only mildly warm when you use it.
Step 2: Take the oil rig apart
If you want to clean your oil rig effectively, you should take the accessories off and clean them in a separate solution. You can start by removing the dab nails, bangers, reclaims and anything else.
Pro-tip: If you clean your oil rig while all the accessories are still attached, you may end up damaging or breaking it. It's simply not worth your time. Plus, the accessories need more time to soak and deep clean to be sparkly clean once more.
Step 3: Make your cleaning solution
Instead of using the typical salt and rubbing alcohol you usually use while cleaning your bong, a stronger solven will strip away the unwanted buildup. Something like Randy's Black Label cleaner will works faster and better. All you need to do is make a solution in a container before moving to the next step.
If you don't prefer Randy's Black label cleaner, you can use the Grunge off Soaker. It works fast as well and equally effective.
Step 4: Soak your accessories
Now that your solution is ready, it's time to get the resin off your accessories. Please put all of them in the solution and let them soak for at least 15 minutes. That is more than enough time to get any resin dislodged from them. If there are any other unwanted substances, it will come off as well. If you cannot submerge your rig then you'll want to fill it instead and use caps to plug the mouthpiece and joint.
Step 5: Soak your dab rig
In a separate container with the cleaning solution, you can soak the rig. Or, you can opt for pouring the solution into the rig and capping off all the openings. Let it settle for a while before you shake it to remove all the resin and goo. Once satisfied with your efforts, you can uncap it and pour out all the solution.
Pro-tip: If you only clean your vapor rig a couple of times a year, you should take your time. There's no rush here. Most dabbers don't know the importance of deep cleaning their rigs. And the result is often bad.
Step 6: Scrape off any stubborn stains
Possibly, there are other parts of the rig that are hard to reach, and you may need to handle them in other ways. You can use a cleaning brush to get to those spots and brush the goo and resin off. And if the spots are not clean enough afterward, you can soak the cleaning swabs in isopropyl alcohol and use it to remove the substances. Either way, the results will be amazing.
Pro-tips: you should also do the same with the accessories after removing them from the solution you soaked them in earlier.
Step 9: Follow up with soap and water
Although the cleaning solution will eliminate at least 99 percent of the gooey substances, following up the procedure with mildly warm soapy water will ensure your rig is perfectly clean. Pour the soapy water into the rig and cap it to prevent the solution from spewing all over your kitchen. You can shake it for a couple of minutes before pouring the water into the sink.
Pro-tip: Instead of using mildly warm water, you can use one at room temperature. That way, you can ensure that you do not risk cracking your glass because the water was too cold or hot.
Step 8: Rinse off the dab rig
To make your dabbing tool spotless clean, you should rinse it in clean water at room temperature for at least 2 minutes. It will remove the dislodged resin and other substances from your rig if there are any left (the chances are minimal). And more importantly, it will remove any traces of the cleaner you used.
9: Dry your concentrate rig
It would be best to make sure that the rig is completely dry before you use it again. Usually, the first time you use it after cleaning is a great experience. But you can ruin that experience if the rig is not dry. And worst still, the glass may break.
Happy Dabbing
A clean dabbing rig leads to a better dabbing experience. Now that you know how to clean a dab rig, you can ensure that yours stays as clean as the first time you bought it. And if you need to clean it now and then mildly, you can use a packet of 420 wipes, and pipe cleaners. Cleaning it will be easier and still effective. Contact us for more information.